

I am sure we all have enjoyed our lazy garlic bread recipes before, by adding chopped or minced garlic into butter and spreading it on toasted bread. But if you are in the mood for freshly made homemade garlic bread from scratch that takes things to another level, you are at the right place.
If you have some time on your hands and are craving a delicious snack, you, my friend, are going to enjoy this easy homemade garlic bread recipe. The best part? You don’t have to do much. Most of the time is spent letting the dough rest, so you can take care of other stuff, get your chores done, or catch up on work. No hustle and bustle cooking here—just simple, rewarding garlic bread from scratch.
As for me, I always find baking bread comforting, and this homemade garlic bread is no exception. So if you are into baking, then hopefully, it’ll be a treat for you too. With its soft, fluffy interior, buttery garlic flavor, and golden crust, this garlic bread recipe is one you’ll want to make again and again.
Before We Start…
A small warning: once you’ve made garlic bread from scratch, the frozen store-bought version might never taste the same again.
There’s something about pulling a freshly baked loaf from the oven, brushing it with garlic butter, and watching it disappear within minutes that makes all the waiting worth it.
The good news? The process is much easier than it sounds. The dough comes together with simple ingredients, and most of the work is done while it rises.
So grab your mixing bowl, and let’s make some homemade garlic bread.
Ingredients You’ll Need
One of my favorite things about this homemade garlic bread recipe is that it uses simple ingredients that you can easily find at most grocery stores.
For the Dough
- All-purpose flour – The base of our garlic bread. It gives the bread a soft texture while still creating a beautiful golden crust.
- Instant yeast – Helps the dough rise and creates that light, fluffy interior.
- Sugar – Feeds the yeast and adds a touch of flavor.
- Salt – Balances the flavors and strengthens the dough.
- Warm milk – Makes the bread softer and richer than using water alone.
- Butter – Adds richness and helps create a tender crumb.
For the Garlic Butter Topping
- Fresh garlic – The star of the show. Freshly minced garlic gives the best flavor.
- Melted butter – Carries all that delicious garlic flavor into every bite.
- Parsley – Adds freshness and a pop of color.
- Salt – Just enough to enhance the garlic butter.
Optional Add-Ins
- Grated mozzarella cheese for cheesy garlic bread.
- Italian seasoning for extra flavor.
- A sprinkle of parmesan cheese before baking.
Let’s Make the Dough
Making homemade garlic bread from scratch might sound intimidating, but I promise it’s much easier than it looks. Once the dough comes together, the yeast does most of the heavy lifting.
Step 1: Mix the Dough
In a large mixing bowl, combine the flour, yeast, sugar, and salt. Pour in the warm milk and melted butter, then mix everything together until a rough dough forms.
At this stage, the dough may look a little shaggy and uneven. Don’t worry, that’s exactly how it should look.
Step 2: Knead Until Smooth
Transfer the dough to a lightly floured surface and knead it for about 8-10 minutes.
I usually stop kneading when the dough feels soft and elastic. If you gently press a finger into it and it slowly springs back, you’re on the right track.
Step 3: Let It Rise
Place the dough in a lightly greased bowl and cover it with a kitchen towel.
Now comes the easiest part-waiting.
Leave the dough in a warm spot until it doubles in size. Depending on the temperature of your kitchen, this can take anywhere from 1 to 1½ hours.
Whenever I make bread, this is usually the point where I clean up the kitchen, answer a few messages, or start preparing the garlic butter.
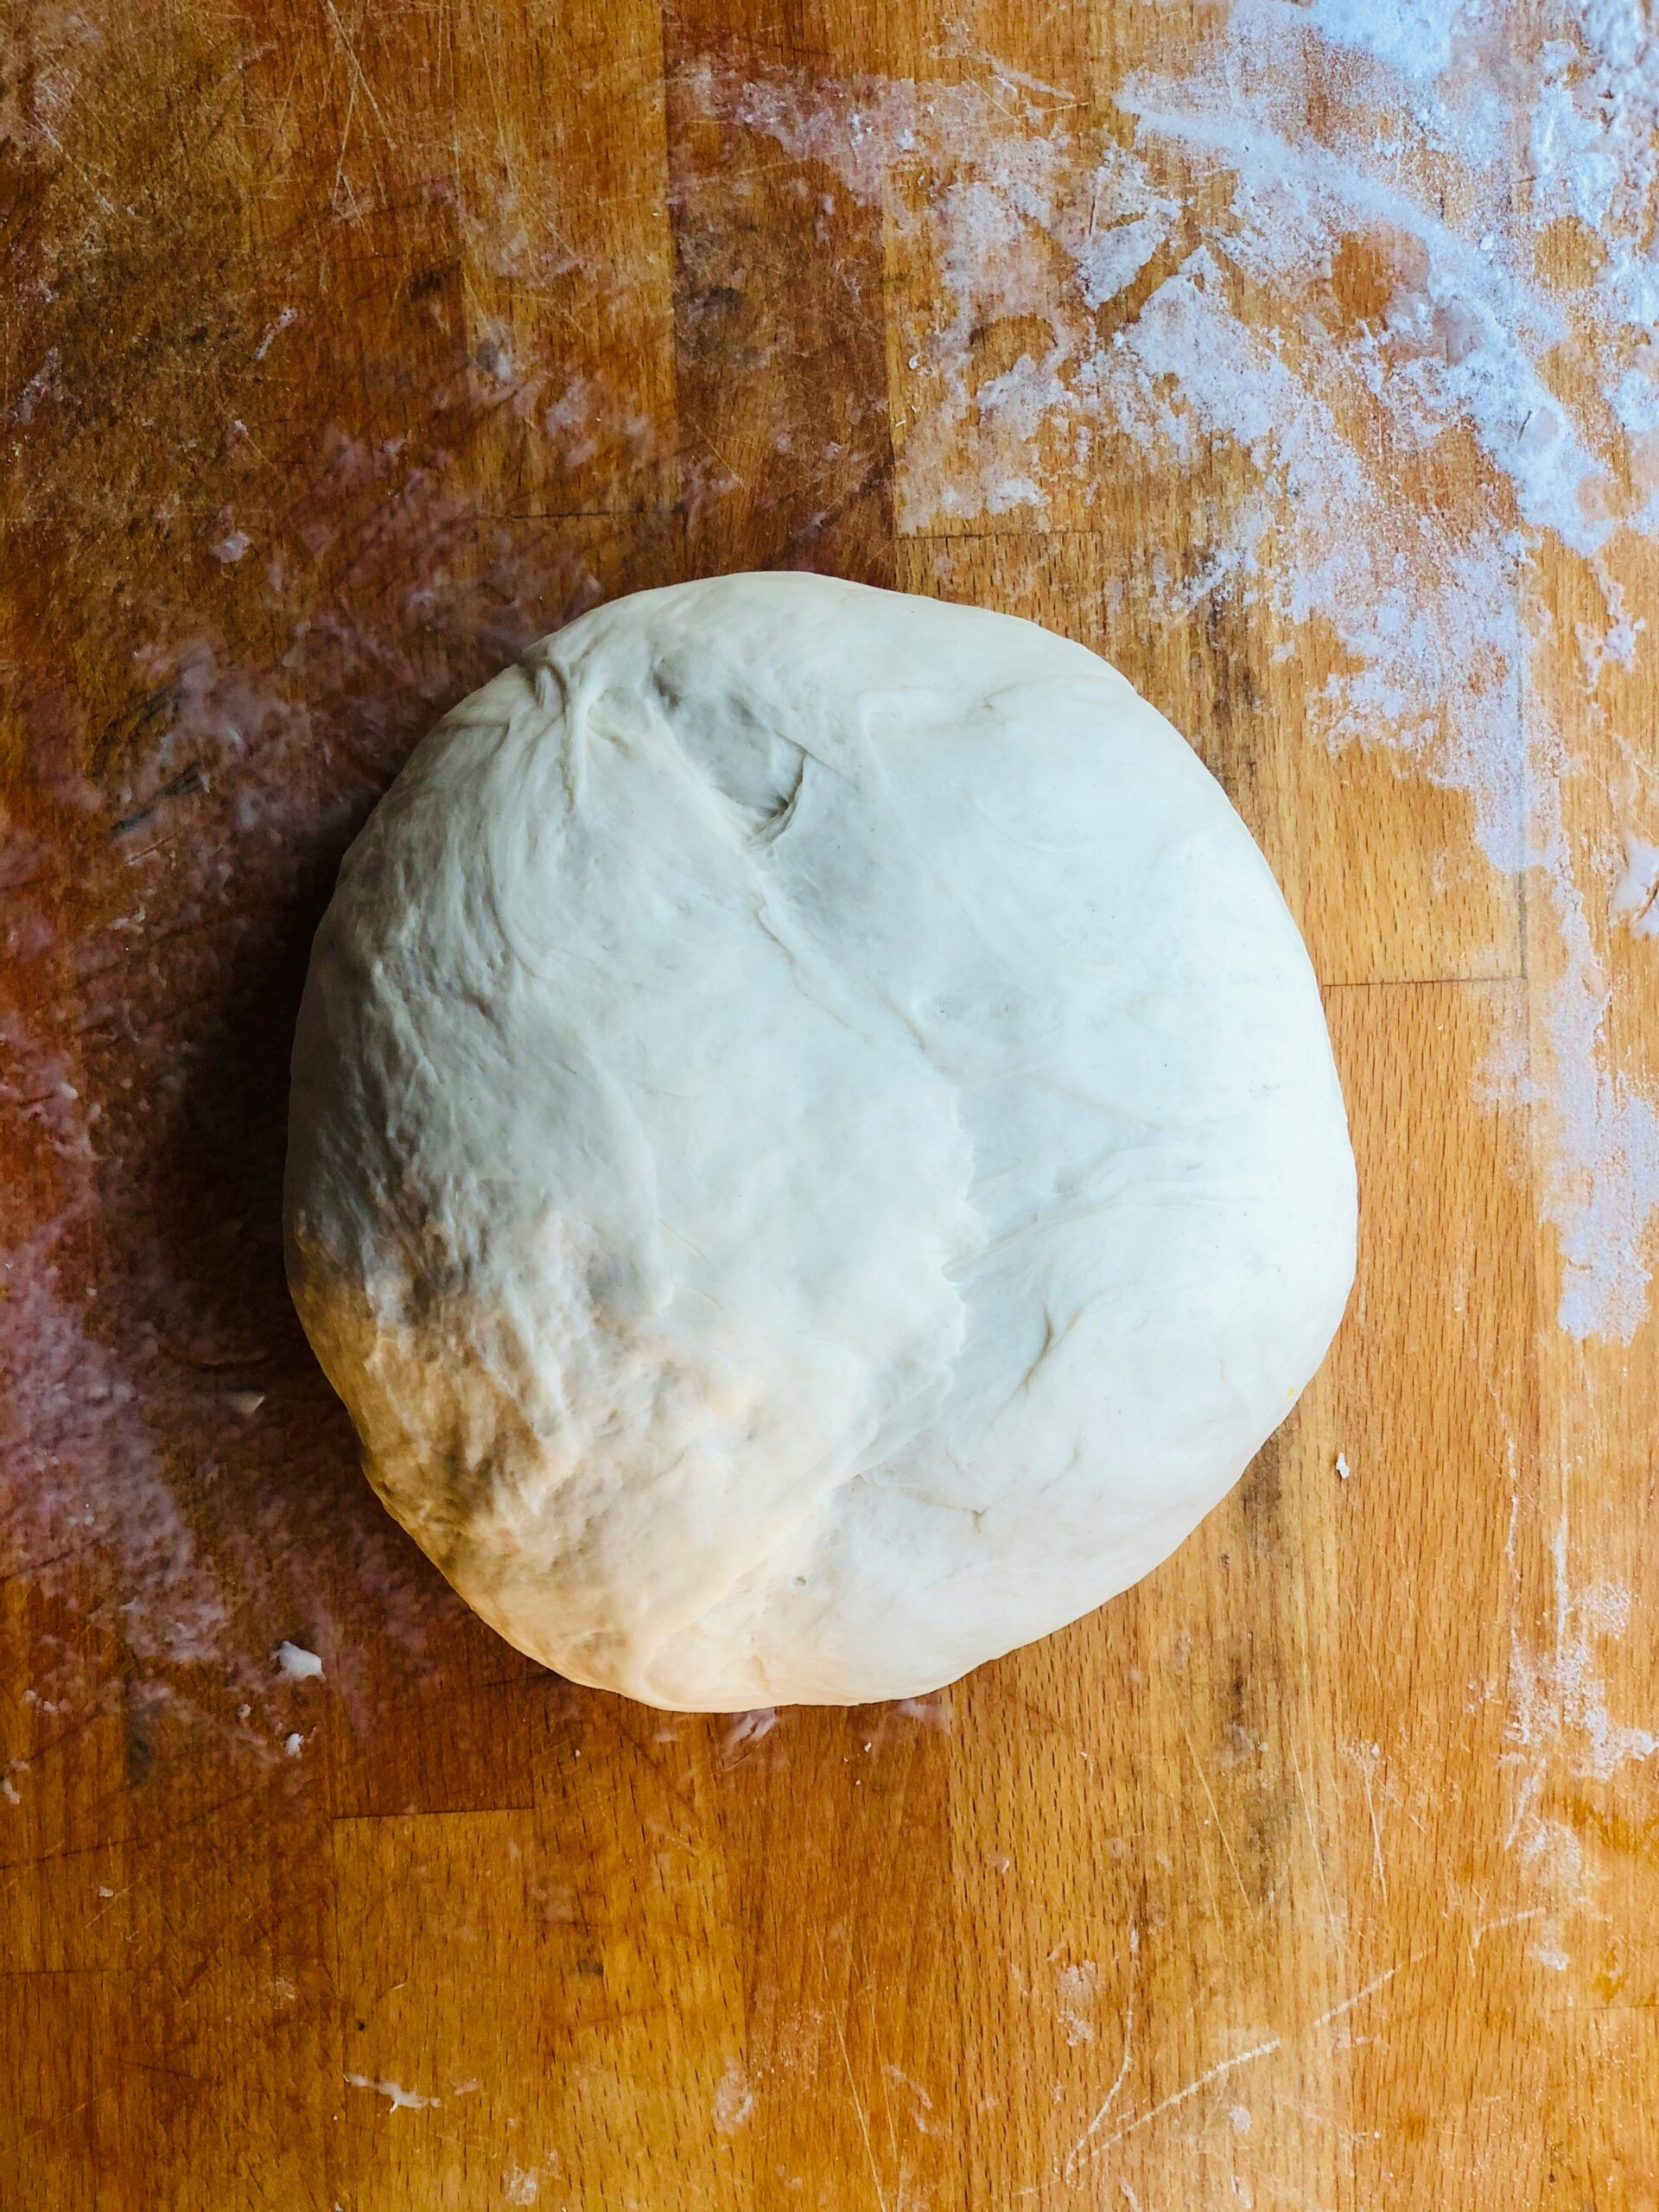
Shaping and Baking the Garlic Bread
Once the dough has doubled in size, gently press it down to release the air bubbles that formed during the first rise.
Turn it out onto a lightly floured surface and shape it into a loaf or an oval. Don’t worry about making it look perfect. One of the things I love about homemade garlic bread is that it has a rustic charm that makes it feel truly homemade.
Place the shaped dough onto a lined baking tray and cover it loosely with a kitchen towel. Let it rest for another 20-30 minutes. This second rise helps create a lighter and fluffier bread.
While the dough is resting, it’s the perfect time to prepare the garlic butter mixture.
In a small bowl, combine the melted butter, minced garlic, parsley, and a pinch of salt. The aroma alone is enough to make you excited for what’s coming out of the oven.
Once the dough has finished its second rise, brush a generous layer of the garlic butter over the top. This is where the bread begins to take on that classic garlic bread flavor.
Bake until the loaf is golden brown on top and lightly crisp around the edges.
As soon as the bread comes out of the oven, brush it with another layer of garlic butter. I never skip this step because it adds even more flavor and gives the bread a beautiful finish.
Allow the garlic bread to cool for a few minutes before slicing. If you’re anything like me, you’ll probably find yourself tearing off a warm piece before it even reaches the serving plate.
The combination of soft, fluffy bread, rich garlic butter, and a golden crust is what makes this garlic bread from scratch so rewarding to make.
A Few Things I Learned While Making This Garlic Bread
The first few times I made this garlic bread, I was always tempted to add more flour if the dough felt slightly sticky. Over time, I realized that a slightly sticky dough usually results in a softer and fluffier loaf. Adding too much flour can make the bread dense and dry.
Another thing I learned is that fresh garlic makes a noticeable difference. Garlic powder works in a pinch, but freshly minced garlic gives the butter a much richer flavor and aroma.
If your kitchen is cold, don’t be surprised if the dough takes a little longer to rise. Yeast likes warmth, so sometimes patience is the secret ingredient. I’ve had days where the dough doubled in size quickly and others where it seemed to take forever.
One mistake I made early on was slicing the bread immediately after baking. The smell was impossible to resist, but letting it cool for just a few minutes makes a difference. The texture settles, and the slices hold together much better.
And finally, don’t be afraid of an extra brush of garlic butter before serving. It adds flavor, keeps the bread moist, and makes every bite even more delicious.
My Favorite Ways to Serve This Garlic Bread
While I have absolutely no problem eating a few slices of this garlic bread on its own, it also pairs beautifully with a variety of meals.
My personal favorite is serving it alongside a bowl of warm pasta. There is something incredibly satisfying about using a piece of homemade garlic bread to soak up every last bit of sauce left on the plate.
It also goes wonderfully with soups, especially on cooler days. A bowl of tomato soup and a few slices of warm garlic bread is one of those simple combinations that never disappoints.
If you’re hosting friends or family, this bread makes a great addition to the table. Slice it up and serve it as an appetizer while the main meal is still cooking. In my experience, people tend to reach for it long before dinner is ready.
For a slightly more indulgent version, you can top the bread with a little mozzarella or parmesan cheese and place it back in the oven for a few minutes. The result is a simple cheesy garlic bread that disappears surprisingly fast.
And if you’re anything like me, don’t be surprised if you find yourself sneaking a slice straight from the cutting board while nobody is looking. Freshly baked garlic bread has a way of making self-control very difficult.
Storing and Reheating Leftovers
If you somehow end up with leftovers, this garlic bread stores surprisingly well.
Once the bread has cooled completely, place it in an airtight container or wrap it tightly. It will stay fresh at room temperature for up to 2 days.
For longer storage, you can keep it in the refrigerator, although I find that bread tends to lose some of its softness when chilled.
When you’re ready to enjoy it again, a few minutes in the oven is usually all it needs. Reheating the bread helps bring back the crisp exterior while warming the soft center.
I generally avoid using the microwave unless I’m in a hurry. It works, but the bread can become a little chewy instead of staying light and fluffy.
If you’d like to make a batch ahead of time, you can also freeze the baked garlic bread. Just wrap it well and freeze it for up to 3 months. Whenever a garlic bread craving strikes, simply thaw it and warm it in the oven until heated through.
Honestly, there is something very satisfying about discovering a loaf of homemade garlic bread in the freezer and realizing you have an easy snack waiting for you.
Frequently Asked Questions
Can I make this garlic bread without yeast?
Yes, but the texture will be different. Yeast helps create the soft, airy texture that makes this homemade garlic bread so satisfying. If you’re short on time, you can look for quick bread alternatives, but for the best results, I recommend using yeast.
How do I know if my dough has risen enough?
A simple way to check is to gently press a finger into the dough. If the indentation slowly springs back, it’s usually ready. If it springs back immediately, it may need a little more time.
Can I make the dough ahead of time?
Absolutely. After kneading the dough, cover it and place it in the refrigerator overnight. The next day, let it sit at room temperature for a bit before shaping and baking.
Can I use whole wheat flour?
You can, although the texture will be slightly denser. I like using a combination of all-purpose flour and whole wheat flour when I want a little extra flavor without sacrificing too much softness.
Can I turn this into cheesy garlic bread?
Definitely. Simply sprinkle mozzarella or parmesan cheese over the garlic butter before baking. The melted cheese adds another layer of flavor and makes the bread even more irresistible.
Why is my garlic bread dense instead of fluffy?
This usually happens when too much flour is added or the dough hasn’t had enough time to rise. Measuring ingredients carefully and allowing the dough to double in size can make a big difference.
Final Thoughts
There is something incredibly comforting about baking bread from scratch. Maybe it’s the anticipation while the dough rises, the smell that fills the kitchen as it bakes, or the simple satisfaction of slicing into a warm loaf that you made with your own hands.
This homemade garlic bread recipe isn’t the quickest way to make garlic bread, but that’s part of what makes it special. Most of the process is hands-off, giving you time to go about your day while the dough does its thing.
What I love most about this recipe is how a handful of simple ingredients can turn into something so rewarding. A little flour, yeast, butter, and garlic come together to create a loaf that’s soft, fluffy, buttery, and packed with garlic flavor.
Whether you’re serving it alongside your favorite pasta, pairing it with a bowl of soup, or enjoying a warm slice straight from the baking tray, I hope this garlic bread brings as much comfort to your kitchen as it does to mine.
If you enjoyed this recipe, you might also like:
- Best Homemade Margherita Pizza Without a Pizza Oven – perfect for pairing with a side of garlic bread.
- 2-Ingredient Greek Yogurt Bagels (Easy & Delicious) – a simple bread recipe that’s great for beginners.
- Crispy Air Fryer Zucchini Fries (Healthy Low-Calorie Snack) – because crispy fries and garlic bread are never a bad idea.
The hardest part of this recipe isn’t making the dough. It’s waiting for the bread to cool when your kitchen smells like garlic butter and freshly baked bread.
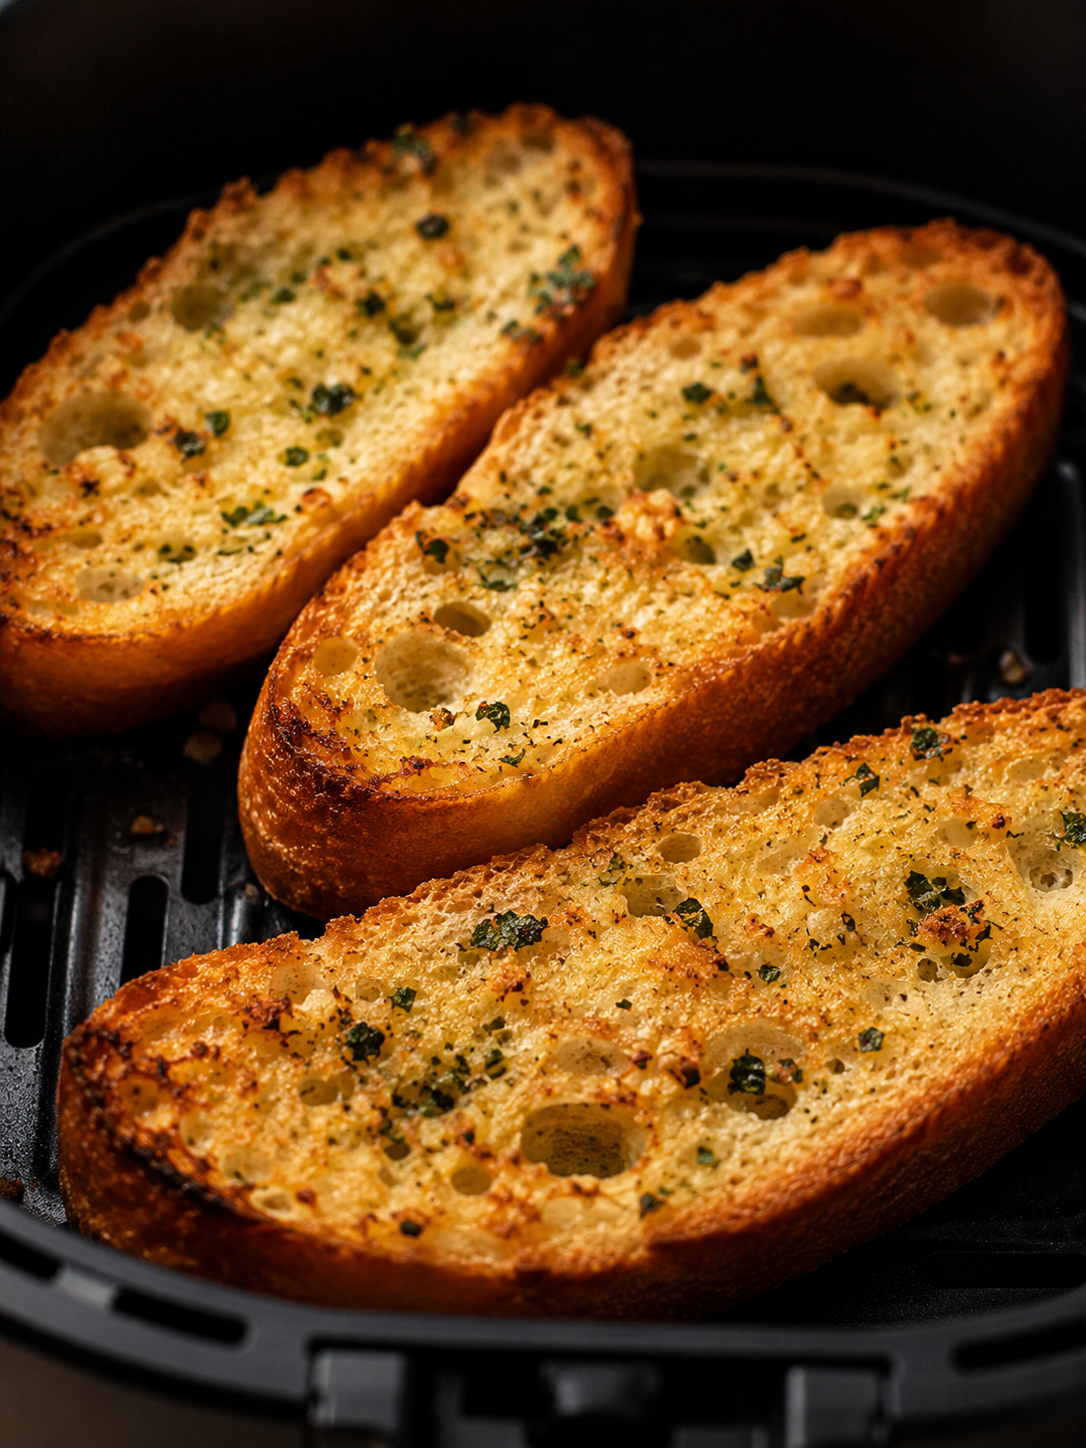
Easy Homemade Garlic Bread From Scratch
Ingredients
Method
- In a large bowl, combine the flour, instant yeast, sugar, and salt.
- Pour in the warm milk and melted butter.
- Mix until a rough dough forms.
- Transfer the dough to a lightly floured surface and knead for 8–10 minutes until smooth and elastic.
- Place the dough in a lightly greased bowl.
- Cover with a kitchen towel and let it rise in a warm place for 1 to 1½ hours, or until doubled in size.
- Gently press down the dough to release the air.
- Shape it into an oval or loaf and place it on a lined baking tray.
- Cover and let it rest for 20–30 minutes.
- In a small bowl, combine the melted butter, minced garlic, parsley, and salt.
- Brush the dough generously with the garlic butter mixture.
- Bake in a preheated 375°F (190°C) oven for 20–25 minutes, or until golden brown.
- Remove from the oven and immediately brush with the remaining garlic butter.
- Allow the bread to cool for about 10 minutes before slicing and serving.
Notes
- Fresh garlic gives the best flavor.
- If your kitchen is cold, the dough may need a little extra time to rise.
- Don’t add too much extra flour while kneading, as it can make the bread dense.
- For cheesy garlic bread, sprinkle mozzarella or Parmesan over the loaf before baking.
- Store leftover garlic bread in an airtight container at room temperature for up to 2 days.
- Reheat in a 350°F (175°C) oven for 5–8 minutes until warmed through.
- Freeze for up to 3 months. Thaw at room temperature and reheat before serving.
